2. How to upload your data?
In this section covers where to upload your data and what to upload.
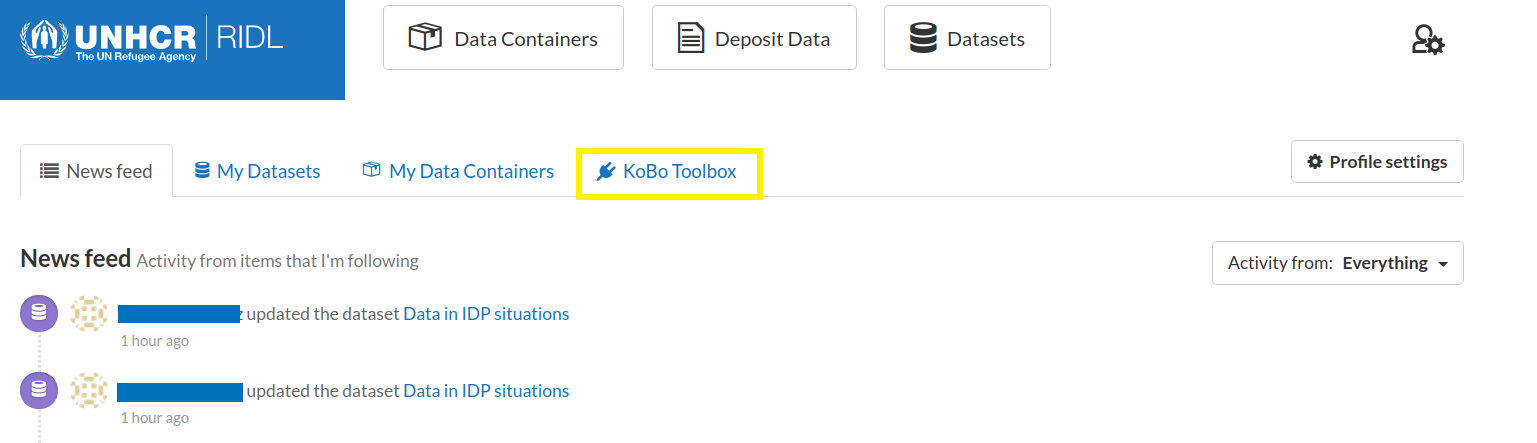
After logging in at ridl.unhcr.org, the Dashboard will appear which shows RIDL’s News feed in the first tab, My Datasets in the second, and My Data Containers in the third tab.

Figure 2.1 The Dashboard
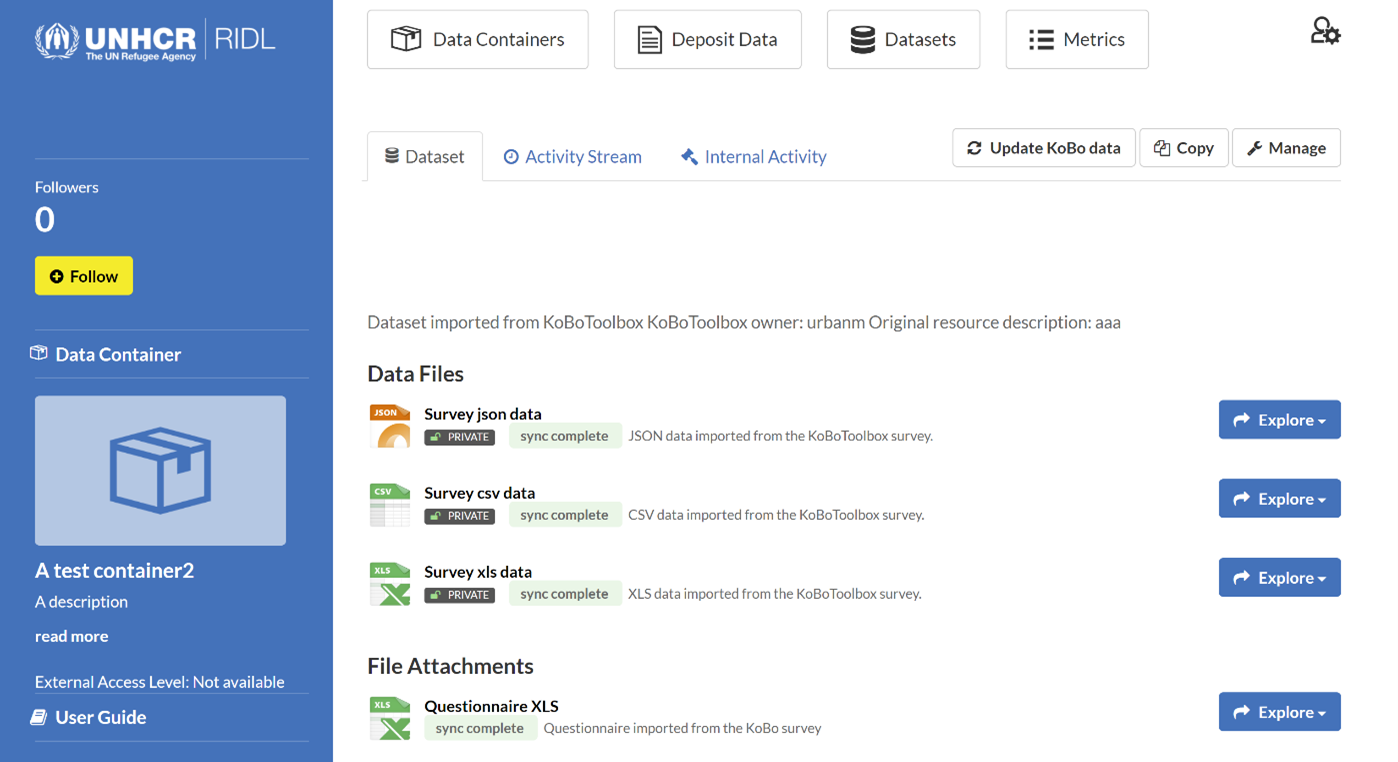
To be able to upload datasets to RIDL, the user needs to have access to at least one container as an ‘Editor’ or as ‘Admin’. The Dashboard's My Data Containers tab will list all containers the user has access to.
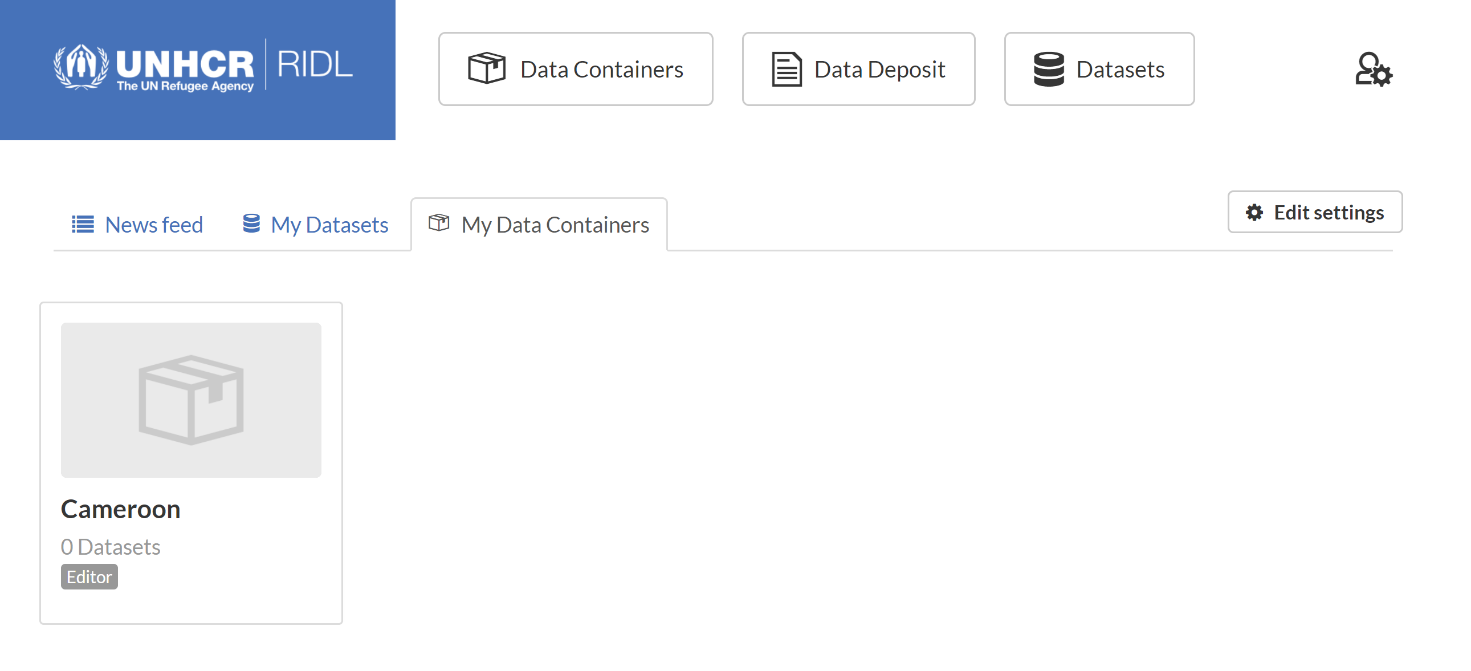
Figure 2.2 Editor access to the 'Cameroon' container
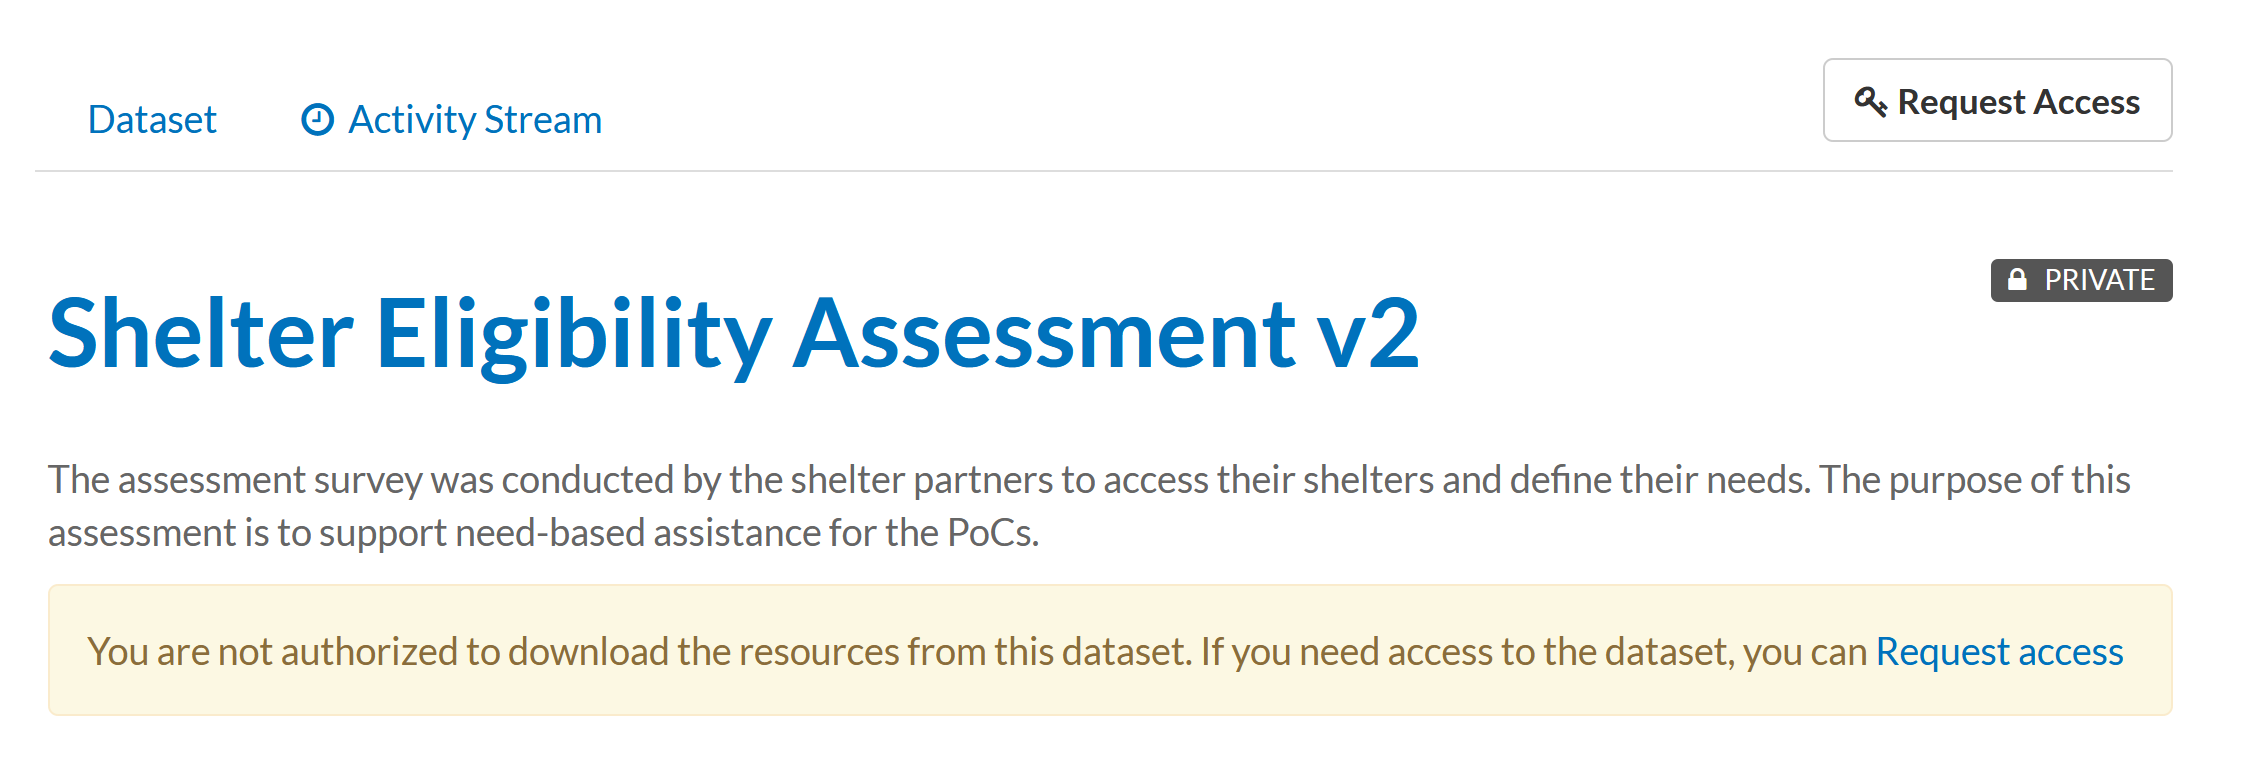
To request access to an existing data container, navigate to the container by clicking on its name and locate the 'Request Access' button.

Figure 2.3 Request access to container
The data containers are geographically ordered. There is an option to request a new data container under an existing parent container, which might be useful when several datasets are available covering the same topic. To request a new data container: go to Data Containers and click the button Request Data Container (see figure 2.3). The name of the new container should follow the naming convention: start with the 3 letter code of the country, followed by a semi-colon and the name of the container. For example, Iraq : WASH KAP.
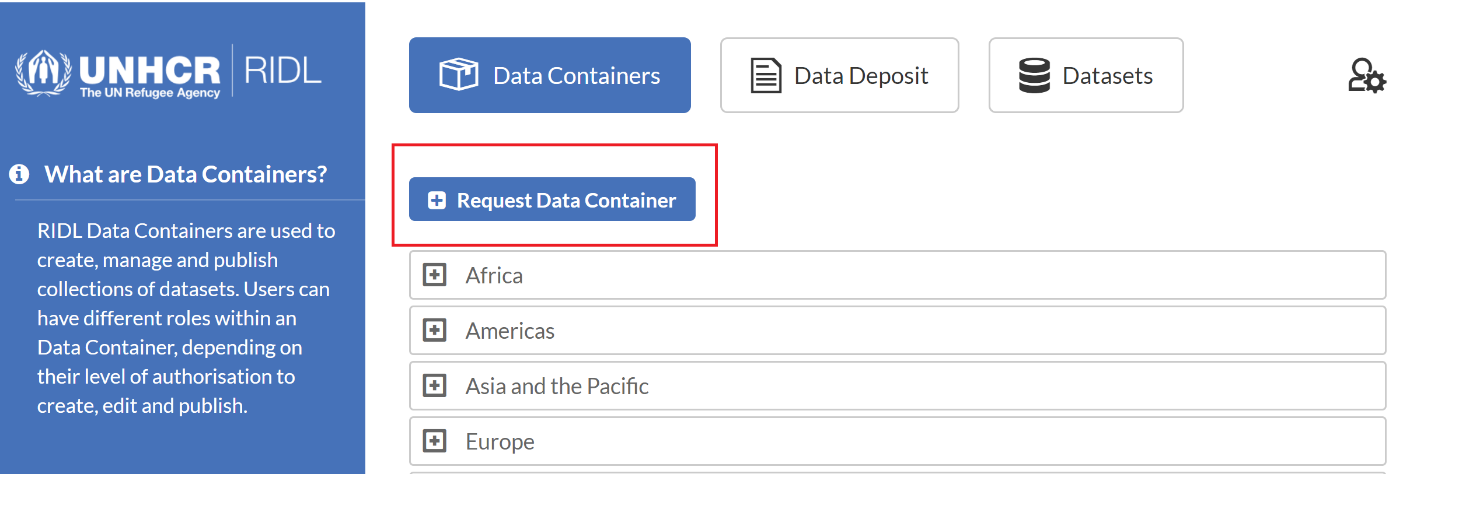
Figure 2.3. Request a new data container
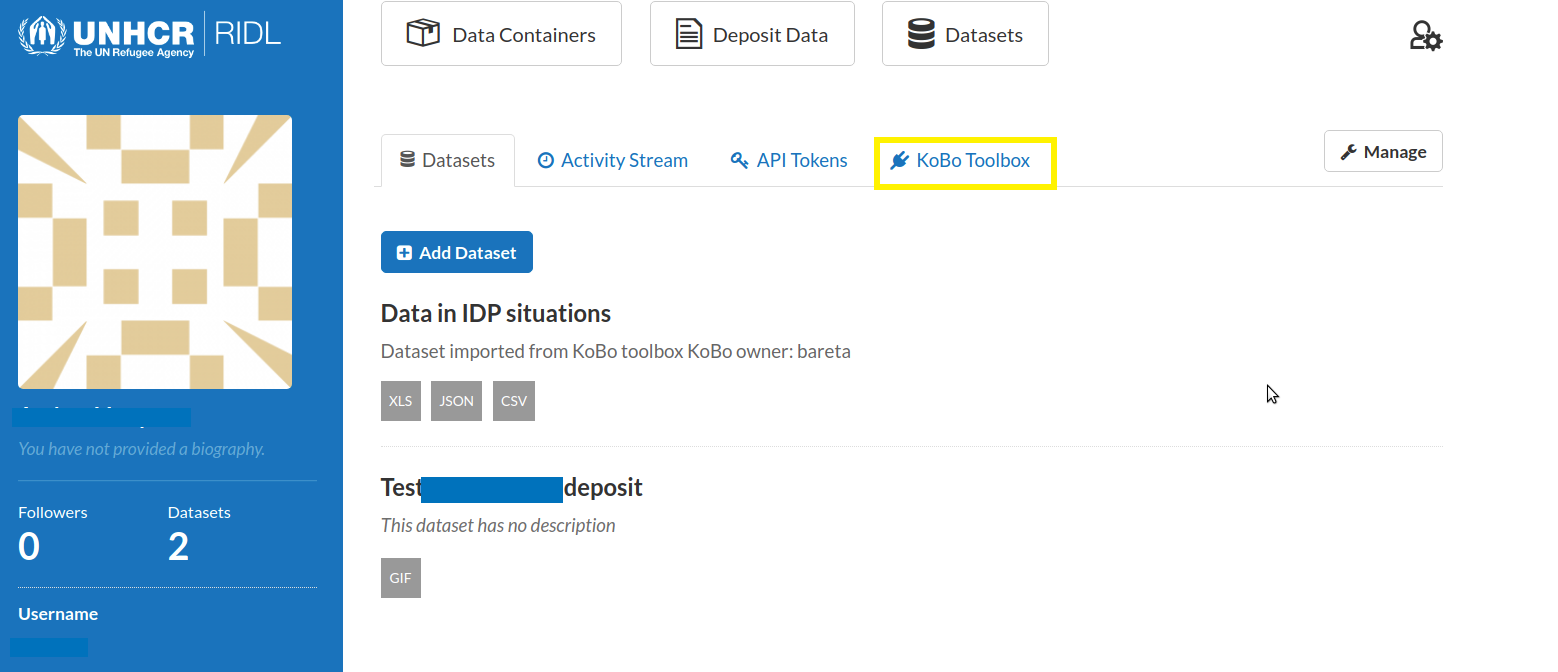
The tab My Datasets includes all the datasets the user has access to and allows the upload of new data. After logging in, go to the tab My Datasets.
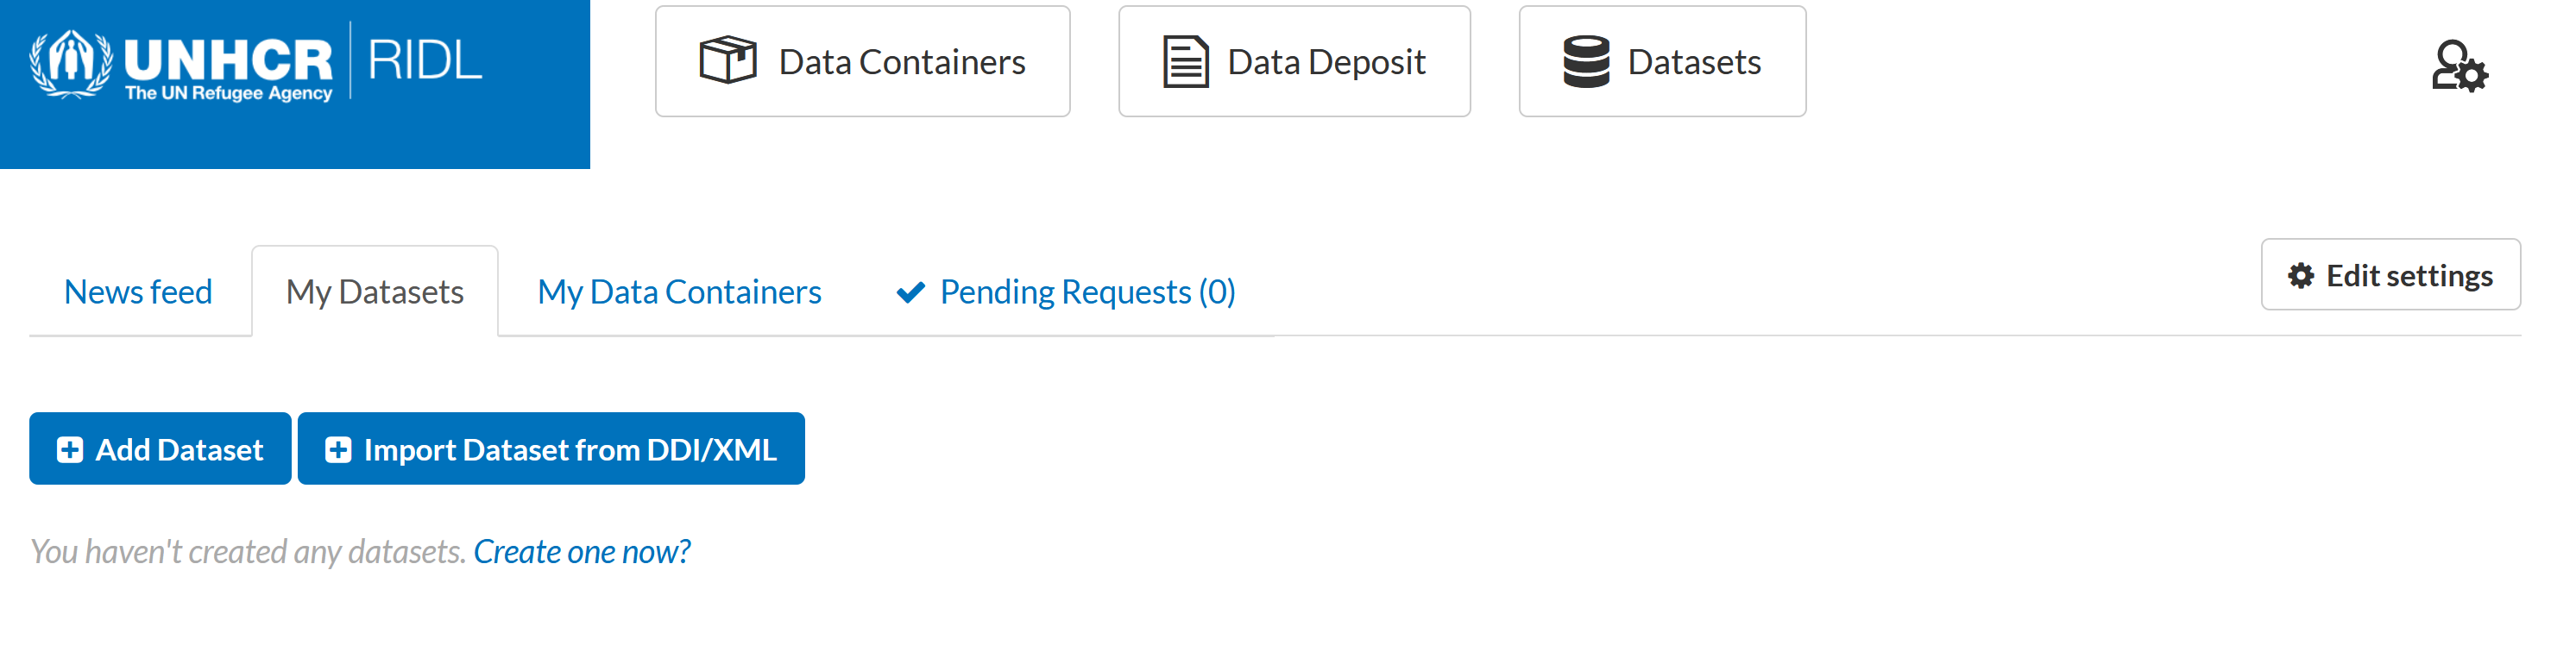
Figure 2.4 Adding a dataset
This provides two options to upload data:
1. Add dataset – the user will need to create the dataset and linked resources by filling out the metadata elements one by one.
2. Import dataset from DDI/XML - which should be used if there are special xml and rdf files previously generated in Nesstar Publisher.
Option 1: Add dataset
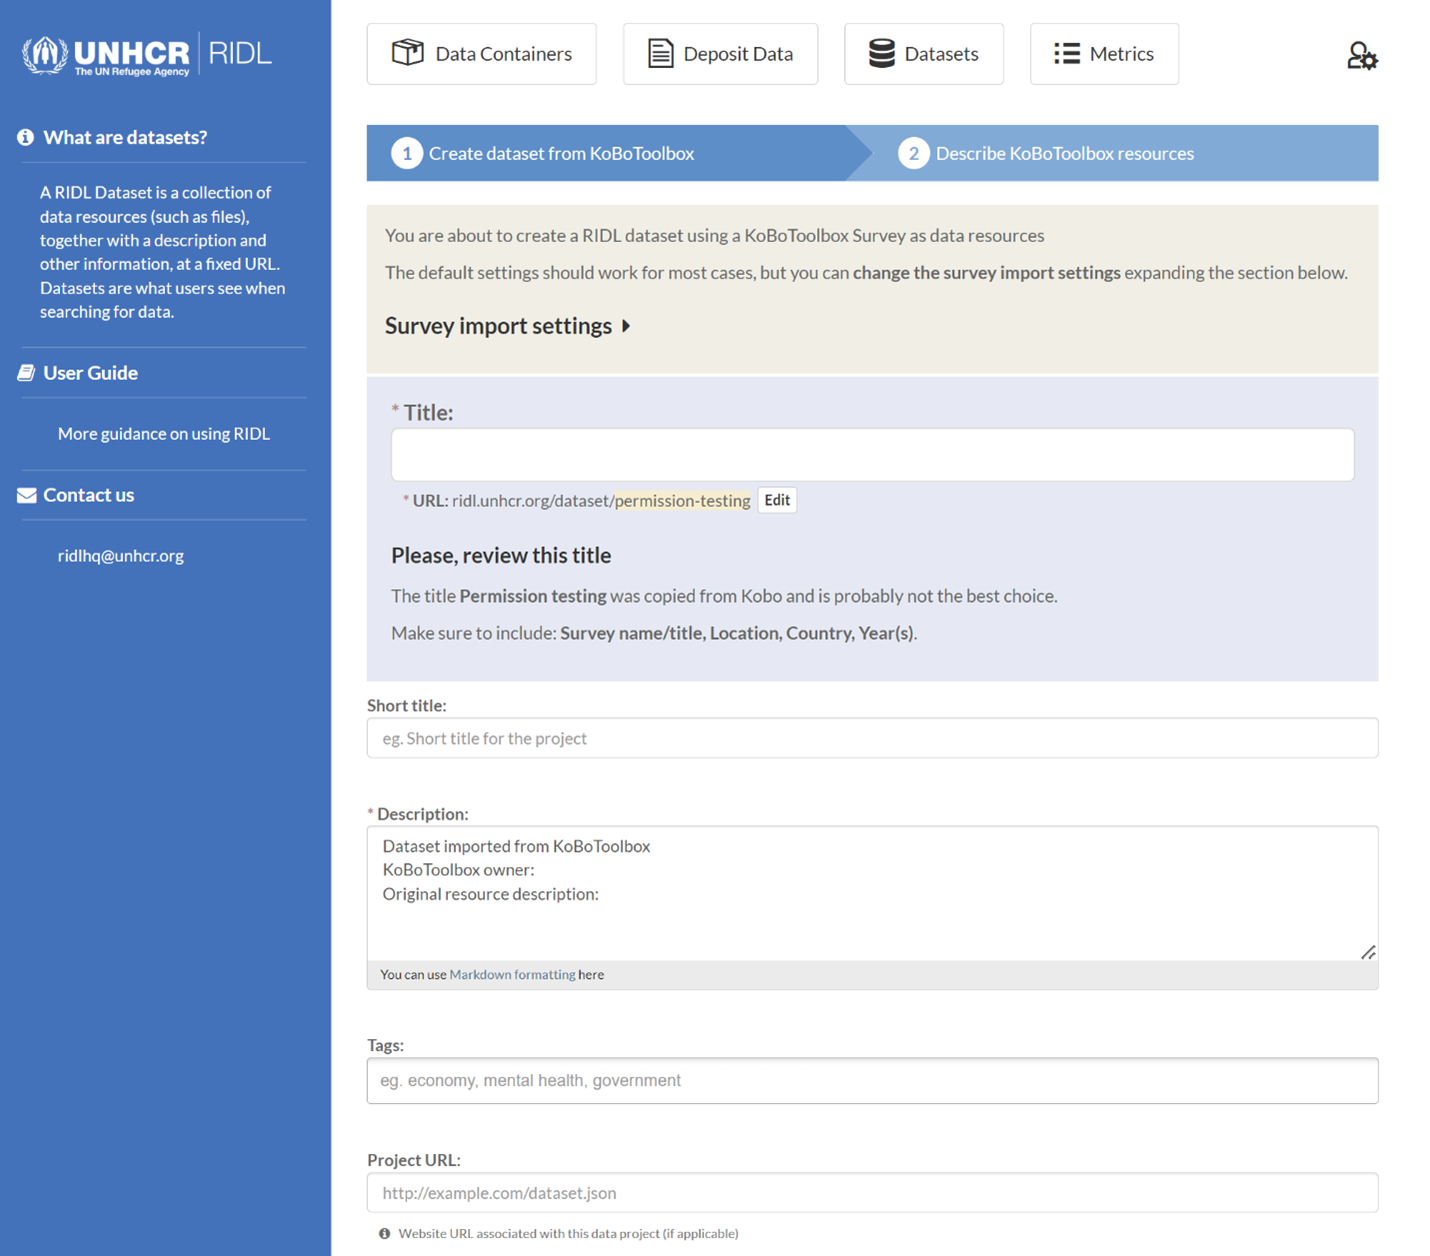
At this stage you are asked to add information about the dataset - the metadata. This metadata will be visible for all colleagues who log in to RIDL.
The following fields are mandatory:
Title: This title will be unique across RIDL. Preferably, the title should follow the convention: survey title, year.
Description: You can add a longer description with information users of the data need to know.
Data container: These are geographically ordered, select the country and sub-folder within the country.
Internal Access Level: Who can download the data?
- Private – Data and its associated resources (e.g., questionnaire, reports, etc.) are only accessible by those who are Members, Editors or Admins of the data container where the data are located. Others can see the metadata and can request access to the data from the Admin of the data container.
- Internally visible – Data and its associated resources are available to all with access to RIDL (i.e., all UNHCR colleagues with UNHCR credentials).
Data collector: Select the organization(s) responsible for the data collection.
Topic classifications: You can select multiple topics to describe the dataset. This will ensure the dataset is easy to find.
Unit of measurement: What is the unit of measurement, i.e. what is each observation? A household, individual, child, business, etc.?
Data collection technique: You can select the data collection technique from a scroll down menu.
Archived yes/no: Is the data archived, or still active?
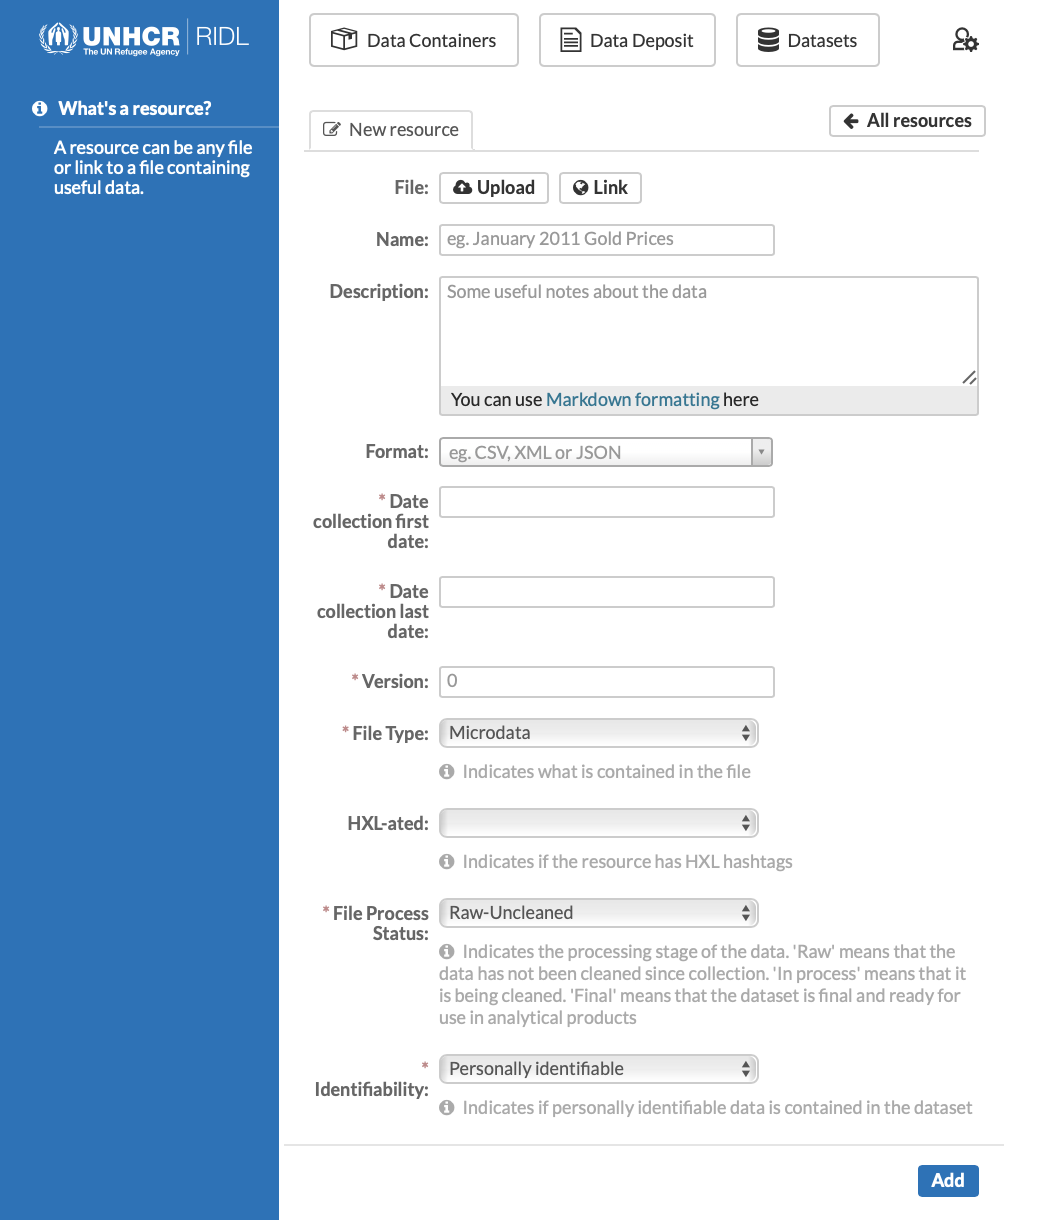
Besides the required fields, there is room to provide additional information, such as Sampling Procedure. It is recommended to add all relevant information. The next page provides the opportunity to upload the actual data (see Figure 3.2). Data can take any format such as xlsx, csv, Stata. It also allows to upload additional documents. It is recommended to upload the questionnaire, as well as the field-work report and the final report.
Option 2: Import Dataset from DDI
! IMPORTANT ! To enable the importation of DDI files, the RIDL Nesstar template should be used to create the DDI files. Download the template from here.
If you choose the second option, Import dataset from DDI/XML, you will be asked to:
1. Upload or link an XML and RDF file (see figure 2.3).
2. Select the data container: the country or geographical area and the sub-folder to which the data belongs.
3. Set the visibility, private or public.
Private: The data and other added resources are only accessible for colleagues who have access to the same data container. Note that the metadata is always visible for all colleagues using RIDL.
Internally visible: The data and resources added are accessible for all colleagues within UNHCR.
Once all fields are filled, click the button Import to upload the files. Once the files are uploaded, you can add data (see Figure 3.1) and other resources.
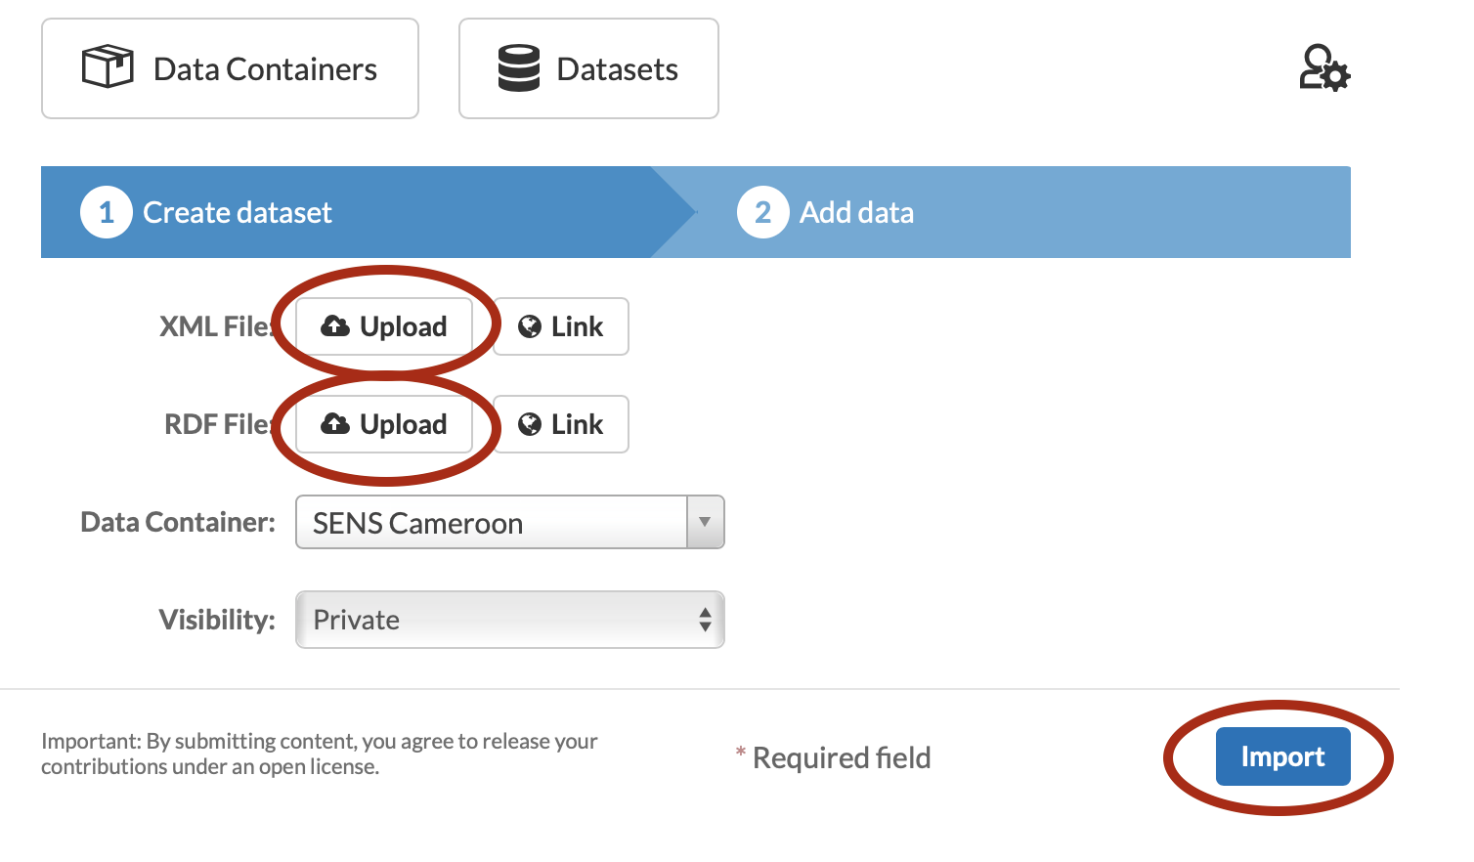
Figure 2.3. Uploading a dataset using xml and rdf